Rain shower head drips after shut off mainly for clogging due to dirt particles or limescale. Worn-out rubber washers, dirty or faulty diverter valves, and deteriorated cartridges are countable enough reasons to create annoying matter like dripping water.
The worst can be that the shower head itself has gone bad, making the Rain shower drip. Don’t be troubled! The problem is nothing as long as you follow our guide. When the shower head drips continuously, clean out the shower head first.
If it can’t work out for you, go to the following sections of this article, as we’ve explored many more well-proven troubleshooting options in a detailed manner.
So, keep reading this comprehensive article without missing any aspect.
Table of Contents
Is It Normal For A Showerhead To Drip
Yes, it’s normal for a showerhead to drip right after using it. This seep out of water is a short sequence and doesn’t continue for too long. After showering, when you turn off the shower, there might be some water in the shower head that needs to get out. So few drops of water are expected.
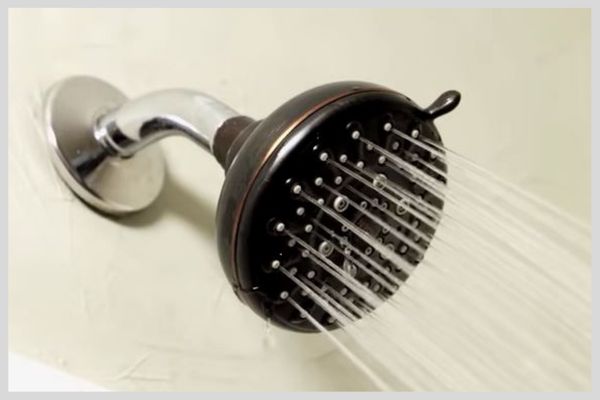
Usually, this normal dripping lasts 3-5 minutes. If you still hear of water dripping even after passing some minutes, then check whether the shower is fully off. When it’s totally shut off but still dripping, then things are going to weary. Because it indicates some internal fault of the shower head that is to be checked.
But, no worry! We are here going to light on easy fixes that will assist you in shorting out the problem without any further hassle.
How To Fix Rain Shower Head Drips After Shut Off [5 Easy Solutions]
Here, we are going to explore all about the Rain shower head drips after shut off. Before going into the details, let’s have a glance at the below table highlighting the possible solutions of every probable reason to acquire quick knowledge about it.
Note: You can also read our guide on why delta shower faucet dripping and how to fix it.
| Probable Reasons | Possible Solutions |
| Clogged Rain shower head | Clean the showerhead |
| Worn-out rubber washer | Replace the bad rubber washer |
| Dirty or faulty diverter valve | Clean the diverter valve first. If necessary, change the entire diver valve. |
| Deteriorated cartridge | Wash the cartridge or replace it in case it deteriorates. |
| Bad shower head | Replace the bad Rain shower head. |
1. Clogged Rain Shower Head
In such cases of new Rain shower heads dripping after shut off, a clogged shower head is one of the most relatable reasons.
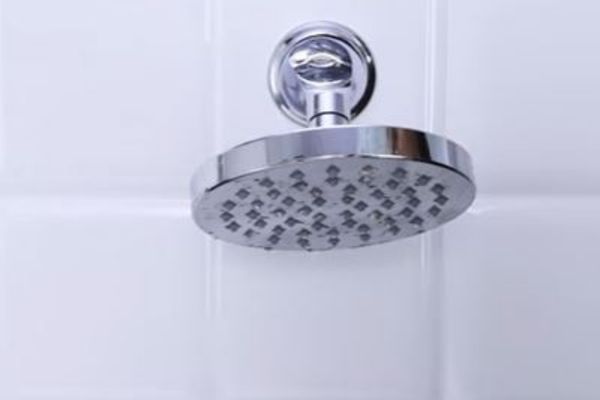
Over time, the minerals or dirt particles accumulate in the shower head & may clog its pores. As a result of such restrictions, water may not run out completely, even after you turn it off.
Cleaning the clogged shower head is the simplest hack to carry out the issue.
How To Clean The Clogged Rain Shower Head
For your assistance, here are the detailed steps for cleaning a clogged shower head.
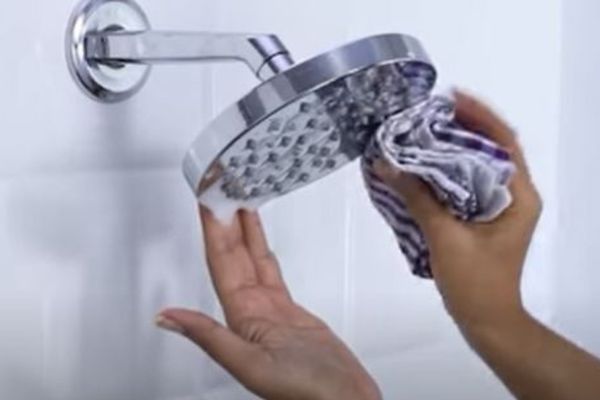
Step 1: Turn off the Rain shower & and take off the head gently. Now, look at whether the pipe is dripping without the shower head. If there are no drips from the shower pipe, check the pores of the shower head which can be grimy.
Step 2: Now, to remove the limescale from the shower head, take a plastic bag, white vinegar & a rigid brush. That’s all you need to complete the task.
Step 3: Fill the plastic bag with white vinegar. Immerse the entire shower head in the plastic bag. Tie the bag with the shower head with a rubber band or string. Ensure you are using a generous amount of white vinegar so that the shower head can be fully submerged in it.
Step 4: You are all done with the task of unclogging the shower head. Now you just have to wait 1 or 2 hours for the vinegar to break down the dirty limescale properly. Untie the vinegar bag after 2 hours. Take the rigid brush and clean the extra debris from the shower head.
Pro-tips: As you have already removed the shower head, it’ll be a good idea to check the Teflon plumber’s tape around the shower arm. Because over time, the tape can deteriorate, creating a chance to leak. Even if you haven’t noticed any leak from the shower arm, you can change the tape to at least eliminate the chances of a leak for now or in the future.
Step 5: Now, re-install the shower head. Set the shower to hot water and let it run for 30 seconds. Thus, this will help the pipe to clean out thoroughly.
That’s it! I Hope, after cleaning, you have dealt with the Rain shower head dripping water problem. If not, proceed to the next section.
2. Worn-Out Rubber Washer
Now, the Rain shower head drips are more likely related to the worn-out rubber washer.
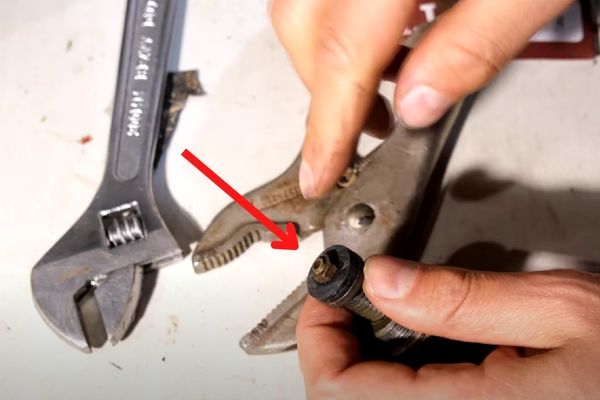
When the rubber washer is bad, it becomes too loose to restrict the water. That can also be the reason for leaking water from the shower head even after you have done showering.
In such cases, replacing the worn-out rubber washer remains the only option to recover the task. Check the steps described below.
Solutions:
Begin by turning off the water supply to the shower. Using a wrench, loosen the collar nut and remove the shower head.
Once you remove the shower head, look for the rubber washer. The rubber washer is a black ring rubber material found in your diverter valve.
Pry out the old rubber washer using your hand. You can also use pliers or a flattened screwdriver. Now, replace the old one with a new identical one.
Once done replacing, re-install the shower head. Turn the shower on and turn it off after a few seconds. Watch still as the water is dripping from the shower head.
3. Deteriorated Cartridge
When you found no solution after replacing the rubber washer, then the cartridge might have deteriorated.
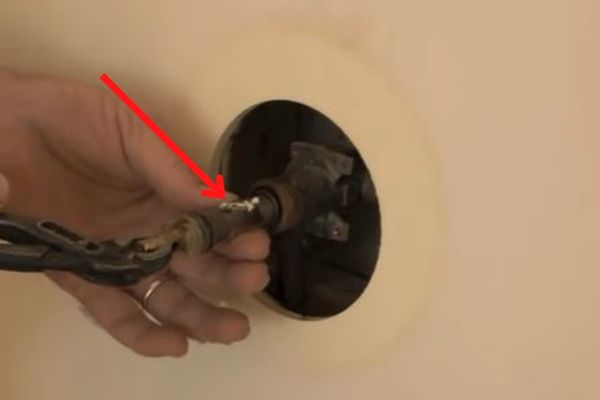
Like most newer showers, in the Rain shower, there is a single handle that controls the hot water as well as the cold water. In the walls behind the handle, there lies a valve body that contains the cylindrical cartridge.
The main job of this cartridge is to regulate the flow of hot water and cold water to the shower head.
When the cartridge is worn out or cracked, water can seep through the shower head even though you have turned off the Rain shower head.
Here also, it requires the replacement of the cracked or worn-out cartridge.
Solutions:
- Proceed with the replacement process by turning off the water supply to the Rain shower. To access the shower cartridge, remove the shower handle by unthreading the set screw. Take off the shower valve trim.
- Also, remove the cap that covers the valve body stem. You can easily slip off the stem cover to reveal the end of the plastic cartridge.
- Most of the time, some nuts & clips secure the cartridge. Remove those nuts or pins. Next, grip the cartridge using pliers, and pull it straight to remove it.
- Now insert the new replacement cartridge in its place. Reassemble the shower handle & put everything back in its place.
Hopefully, replacing the bad cartridge can settle down the dripping issue from the shower head. If not, the dirty or faulty diverter board is another suspicious element that may need to be taken care of. Learn about it in the next section.
4. Dirty Or Faulty Diverter Valve
In a shower, the diverter valve leads the water to the shower head. Due to a grimy or faulty diverter valve, the Rain shower head drips water when off even after replacing the cartridge.
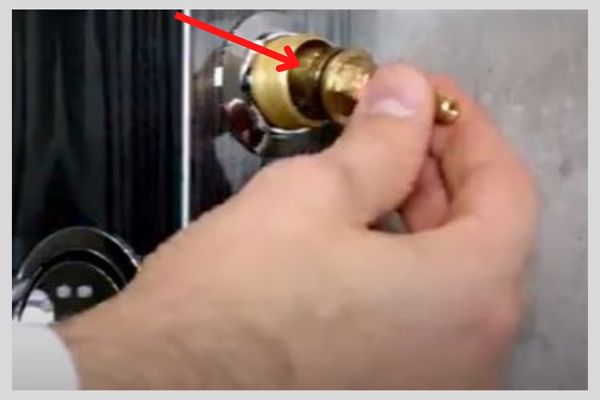
This means that a loose or faulty diverter valve can’t effectively restrain the water in the shower. As a result, the water drips from the pipe of the shower head though the shower is turned off.
To settle down the matter, you may need to clean the diverter valve and tighten it, or you may need to buy a replacement diverter valve when the valve is weary and teary.
Solutions:
- Start the process by stopping the water supply to the shower. Loosen the screw and remove the cap from the top of the faucet handle.
- Next, remove the faucet handle and disassemble the valve assembly by unscrewing the nut located on the stem.
- Now inspect the diverter valve, and look for the signs whether the valve is only grimy or it has worn out. When the valve is nothing more than grimy, a simple cleaning of the diverter valve will work out for you. To clean the valve, use a brush and vinegar and thoroughly clean out the sediment buildup.
- When the diverter valve is weary and teary, you may have to replace the valve now. Replace the entire assembly. Calling the plumber can also be a good idea. They will help you to tighten the diverter valve or to replace it entirely.
- After cleaning or replacing, put back the faucet handle and turn on the water supply. Now examine the shower whether there is still leakage by turning it on and off after a few seconds.
5. Bad Shower Head
In case you have tried each method mentioned above but all the strategies fail to fix the Rain shower head drips, then you may require to replace the shower head as it can go bad causing problems like dripping water.
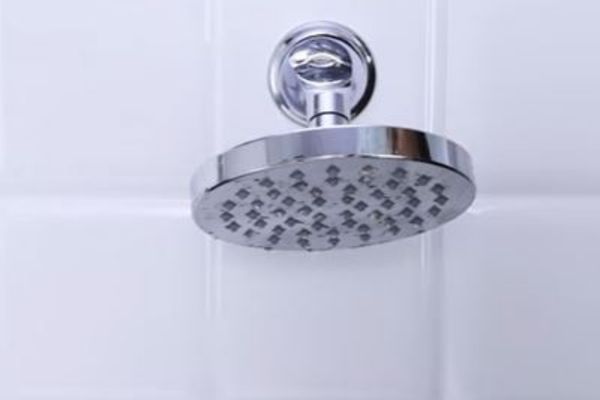
Don’t be tense. Replacing the bad showerhead isn’t a big deal. It’s a DIY project that can easily be fixed. Just check the steps below as described.
Solutions:
- Replacing the shower head is easy, but the condition is that the shower arm should be matched to the shower head. If there is any problem with the shower arm or it doesn’t match the new shower head, you may first require a new shower arm.
- Unscrew the old shower arm and place the new one by wrapping the threads a few times with the plumber’s tape. Next, screw the new arm to the wall fitting and the opening with the plumber’s putty. Slide the matching shower flange over the shower arm and into the putty to seal it.
- Now, wrap the base threads of the arm & attach the new shower head. Give a snug attachment between them & get rid of the dripping matter totally.
Why Does The Rain Shower Head Drip When Not In Use
At times, you may notice the Rain shower head drips after use or when it’s not in use. The surface tension and air pressure within the shower head cause this to happen.
As a Rain shower contains water on a flat surface and pocket air on the top, when you turn off the valve, the pressure of the air pocket is relieved leaving some water in the showerhead. The outer air will hold the water inside and release the surface tension allowing the water to drip.
In this matter, you can simply tap the head to allow water to drain after use or run your hand over the nozzles to break the air pressure.
A little tap on the shower head will allow the shower head to break down the surface tension and airflow between the external and internal environment of the shower head.
Tips To Prevent Rain Shower Head From Leaking
Rain shower head leaking is surely an annoying matter that anyone will want to prevent before even facing it. Here are some tips that will assist you to prevent dripping issues with minimal effort.
- Fix a time twice a year or a minimum quarterly to take apart the valve assembly and thoroughly clean it.
- Use a central water filter at the central control unit. It’ll reduce the accumulation of particles and mineral components in the shower valve or head.
- Everything has a maximum time for good functionality. So, change some shower elements before they get damaged.
- Besides, you can take an annual plumbers’ checkup.
FAQs:
How much does it cost to install a leaky showerhead?
Replacing a leaky shower head costs $100 to $250 depending on the shower head type. An inexpensive shower head costs about $100 to $150 whereas high-quality shower heads cost $150 to $250 to be installed.
How do I temporarily stop a dripping faucet?
By tying a string around the faucet, you can temporarily stop a dripping faucet. To accomplish this task, make sure the string goes around the aerator or over the faucet spout. The string will collect the dripping water & funnel it down to the drain.
How long should the shower drip after turning off?
After turning off, normally a shower head or faucet drips for 3-5 minutes. If the shower is dripping further that time, it means your shower needs servicing like you may have to change the washer.
To Sum Up!
That’s about it! We are all at the end of the discussion. Expect that you will find our article informative enough to sort out the Rain shower head drips after shut off like a professional. Hopefully, this easy-go task won’t cause any further difficulties for you.
Still, if you want to know any more about it, don’t be late to inform us. We are always here to help you out.

About James
James founded HomeUpgradeLab & was sharing his experiences to fix issues related to bathroom and toilet fixtures & fittings. Read to know more about James Hill & how he started this blog.