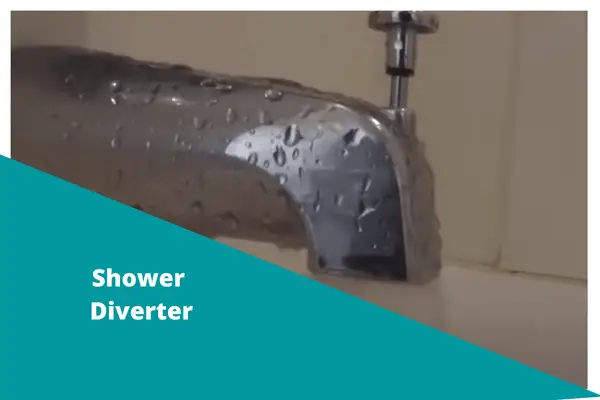
Shower diverters can help you enjoy bathing using both a showerhead and bathtub. Usually, people prefer using a single diverter valve that redirects the water flow to the shower head when turned on. Such a diverter has a pull-up rod that blocks the faucet gate to let the shower head work.
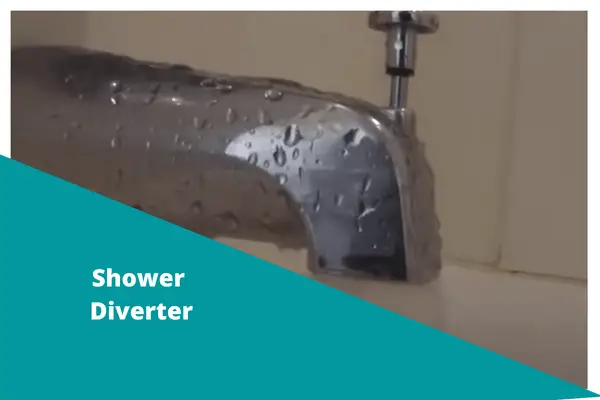
For many reasons, the diverter can stop working. Mainly, a loose or stuck shower diverter won’t stay up. If the diverter knob is stuck, it’s sure that the spout is affected by heavy deposits. But when the knob is loose and keeps going down, it means the white plastic stopper inside has become loose or broken.
The easiest way to fix the problem is to replace the old diverter. But this surely would cost you a healthy amount. So, you better think of repairing the old diverter before finding a replacement. In this article, we’re showing you how you can do so.
Table of Contents
Shower Diverter Won’t Stay Up [3 Easy Solutions]
When the tub diverter won’t stay up, you’d find less water in the showerhead and the faucet would keep leaking water consecutively. So, you better fix or replace the bad diverter spout. Before that, you must know what is making the shower diverter not stay up. Now, let’s see what can be the real cause of this problem in your case.
Note: You can also read how to fix the Moen shower handle that won’t stay in place.
1. Diverter Pin Stuck
Because of mineral deposits and lack of lubrication, the spout pin can get stuck. If you’re staying at a place where hard water issue is very common, you’d find every water outlet being affected by mineral buildup so often.
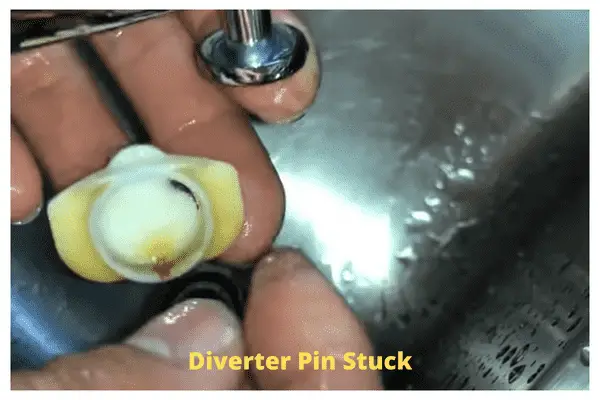
Besides, an old spout can also have the rod or pin stuck due to a lack of grease or lube.
Solution:
- First of all, turn off the main water supply. Then, leave every outlet of the bathroom open to empty the bathroom lines.
- Block or cover the drainage holes using ducktape or some waste clothes.
- Now, see if there’s any screw hole below the spout. If you find one, use an Allen key to remove it. Otherwise, you’ve to twist the spout anti-clockwise to pull off the spout from the wall.
- When the spout is removed, observe it properly. Make sure no component inside is broken or worn out.
- Take a bowl and mix vinegar with warm water in a 1:1 ratio. Pour the water over the spout for a while.
- After that, look inside the diverter, and you’d see a white plastic bracket holding the pin. Use a thin scissor or plus wrench to spread the bracket legs and pull off the pin. If the pin is removed, you can easily bring out the bracket.
- If everything’s dismantled, soak the components in the vinegar solution for 10-15 minutes. Then, scrub the areas affected with deposits using a metal scrubber. Keep scrubbing the areas until the greenish layers are gone. But be gentle while scrubbing the rubber ring with the bracket.
- It’s time to reassemble the spout. Add some plumbers grease or WD40 over the bracket and inner housing. Then put everything back in the right place.
- Check the spout again to see if it’s leaking or holding the diverter pin. If everything’s okay, your job here is done.
2. Loose Diverter Pin
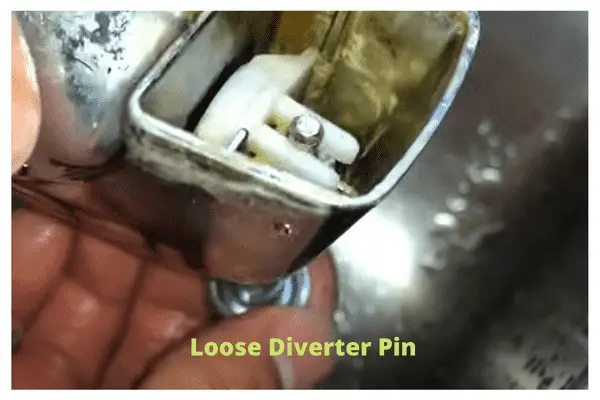
Things can be the opposite of fact #1 in your case. When the pin blocker or bracket is loose and fails to hold the pin stay up, you’d see the shower diverter keeps popping out or turning on the faucet.
Solution:
- Follow the first troubleshooting section and remove the spout carefully after following every required measure.
- Observe the housing of the spout where the pin and bracket are located. If you can’t see any visible issue, bring out the pin, bracket, and washer. Use a thin scissor to spread the bracket legs to make the pinfall off.
- When the pin is removed, the rest comes out easily. Take a clean cloth and put those components.
- The first thing that can make your diverter loose is wider bracket legs. Due to consistent use for a longer period of time, the bracket won’t stay tighter anymore. In that case, try reinstalling the bracket with the pin inserted and press the bracket legs with a plus wrench. If it doesn’t work, then you need to replace the bracket only.
- Another thing that could’ve happened is the rubber washer or blocker installed behind the bracket is worn out or broken. The rubber can wear out because of excessive water pressure, mineral deposits, aging, etc. You should change the washer immediately in this case.
- After fixing the bracket or washer issue, reinstall the spout properly. Then, turn on your shower valve and test the diverter pin 5 or 6 times. If everything seems okay, you shouldn’t worry anymore, otherwise, you should think of diverter replacement.
3. Low Water Pressure
Before talking about this issue, let’s tell you about the mechanism of the pull-up diverter first.
As you can see, there’s no visible locking system that can hold the rod in a specific position. Then, how come a pin should stay still in a position without any pull or push? The answer is water pressure. Yes, the water pressure pushes the washer and bracket to hold a position and work according to the user’s command.
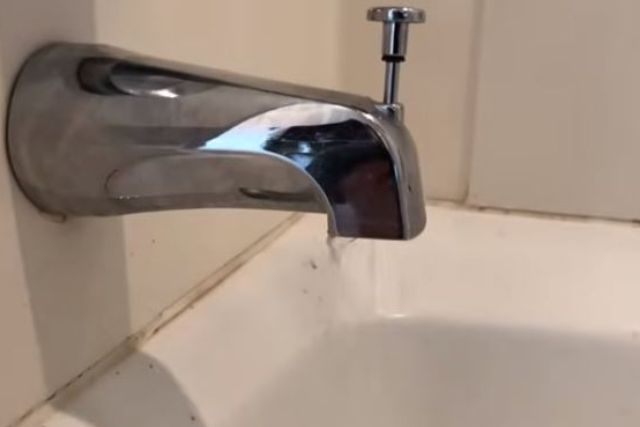
That’s why when your bathroom line’s water pressure turns out to be low, it fails to push the bracket to stay upward. You can have your “tub to shower” converter falling frequently even if there’s a lack of water supply in your area.
Solution:
- Find out where the bathroom line’s main valve is located. After reaching the main valve, see if it’s fully open to produce the required water pressure.
- If the bathroom’s valve is on full mode and the pressure’s still low, find the mother valve of your whole house’s water supply.
- The ideal water pressure for residential space is around 40-60 PSI. Take a pressure meter and connect it to a water faucet and adjust the mother valve by reading the meter. If you can’t adjust the pressure or find out the main valves, call a plumber to do so. It won’t cost you much.
How To Fix A Bad Shower Valve That’s Not A Tee Model?
Alright, it’s time to clear another confusion of yours. As you can see most online tutorials and troubleshooting, including ours, talks about the Tee model diverters where you need to pull a pin to turn on the showerhead, just like a grenade. But what if your shower system has a different kind of diverter spout?
Don’t worry, even if the diverter type is different, the solutions remain the same. You can know why after you put off your diverter and see the inner housing. The mechanism of every diverter system is similar to each other. So, you better follow the sequence of our troubleshooting, clean up debris, tighten if required, and deal with the main valve pressure lastly.
Some Pro Tips
- Always put new plumber tapes over the valve threads to reinstall the diverter.
- 7/64 or nearly similar Allen keys would be required to unscrew the spout from the wall.
- Don’t overtighten anything. Overtightened components last less and cause leakage.
FAQs:
How do you tighten a shower diverter valve?
Firstly, reveal the diverter valve by putting off the spout and nickel O ring from the wall. Then, you might have to break or cut off a small part of the wall to make the valve fully visible. After that, use a wrench to twist the valve’s gate clockwise.
How much does it cost to replace a shower diverter valve?
The price of a diverter valve for a bathroom usually starts from $250. You can easily find a fashionable and durable diverter within 300$-400$ price range.
How do I know if my shower diverter valve is bad?
The main symptom of a faulty diverter valve is it won’t close any inlet completely. You’d find your faucet or showerhead dripping water constantly. Besides, bad shower valves would fail to regulate pressure and water temperature.
Are all shower diverters the same?
Obviously not. There are different kinds of shower diverters with various unique features. But recently, single diverters are the most popular ones.
How do I know what brand shower valve I have?
Usually, you can see the brand name or logo marked on the valve body. Moen, Tuscany, and Kohler mark the first letter of their brand name on the body. Other companies write their full name with the brand logo.
Sum Up
Fixing a shower diverter that won’t stay up is not something that you need to worry about much. It takes 10-30 minutes barely, even for an amateur to make the bad diverter spout work again.
Apart, if you see nothing is fixing the bad spout, you better not waste your time and think of replacing that with a new and compatible one. There’s no need to call a plumber to fix a bad diverter. Because a professional would also do the same thing we described earlier. If you need anything more to know about the diverter mechanism, feel free to send a message.

About James
James founded HomeUpgradeLab & was sharing his experiences to fix issues related to bathroom and toilet fixtures & fittings. Read to know more about James Hill & how he started this blog.